5 Steps to Taking Great Event Pictures
Photo by Lavi Perchik on Unsplash
Maybe this has happened to you. You had a huge event where hundreds of people came. People were saved. Lives were changed. You get ready to make an announcement in the service or post on social what God has done. But you’re stuck. You can tell them what happened, but only verbally. The pictures and video are terrible or non-existent.
A picture is worth a thousand words.
Getting that magic shot can tell the whole story of what happened at your event. Or better, get more people to join the event next time.
I’m not a photographer, but taking pictures is one of those things that I wish I’d learned in ministry school. It’s something that I’ve had to learn the hard way, and I’ve relied heavily on others who are far more skilled.
When I first started, the iPhone was just released and the best phone pics I could take were so blurry, they were unusable. Thankfully, mobile phone cameras have come a long way over the last 15 years, but having a great camera still doesn’t guarantee you’re going to take great pictures. It makes it easier, but not a guarantee.
Whenever I have an event or want to advertise what’s happening in my services, I follow these five steps for great pictures.
1. Get a good photographer
It seems these days that everyone is an aspiring photographer. They get a fancy camera and start a Facebook page and they’re off to take some pics. As well meaning as they may be, they may not have the skills yet to produce great pictures.
Exhibit A: the pictures on your phone right now.
Whether you hire a professional photographer or find one in your church willing to work for free, it’s worth the time and money to bring them in. Most likely you’re so busy during your event you don’t have time to take pictures as well. This is a task that you should pass off to someone else.
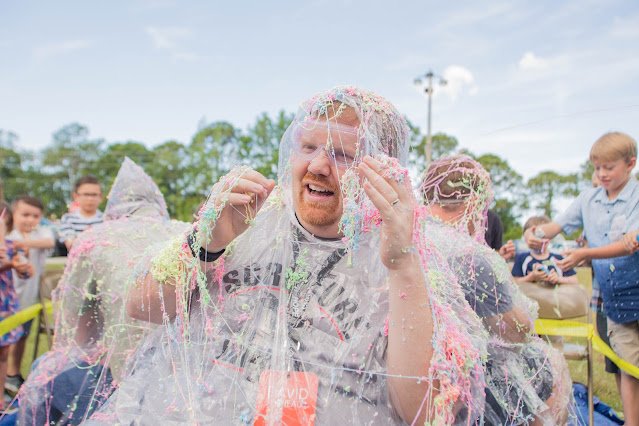
Being the center of Silly String Sunday, there's no way I could also take pics.
I’ve learned a lot from the photographers that I know. Things like the rule of thirds, having great lighting, what F-stop is and the importance of exposure. The art and science of photography is deep, so bringing in an expert that understands all these things will help take your story telling and marketing to the next level.
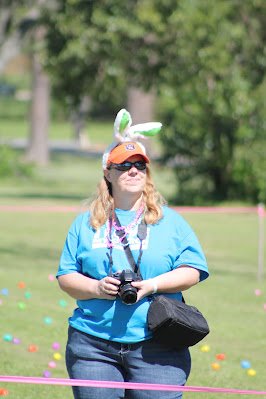
Because my Egg Hunt was so large, I used 3 different photographers and a videographer.
2. Share your event schedule and perspective shot list
Once I have the photographer secured, I always ask them to arrive early. Sometimes even before my other volunteers. When they arrive, we go over the schedule for the day and talk about the kind of shots that I’m looking for.
If they’ve done this kind of thing before, they’re probably looking for a “shot list.” At minimum you need to talk to them through the pictures you’re looking for while they take notes, but it’s better to write it out beforehand.
If you have pictures from previous events that you like, show them those as well so they can get an idea of what you’re looking for.
One of the hardest parts of creative work is providing the product the client wants. The better you can explain exactly what you expect the more likely you’re going to get exactly what you want the first time.
3. Collect happy, smiling faces
The more happy, smiling faces, the more people will look
Humans are naturally drawn to faces and smiling ones even more. If you want your photos to pop, get as many happy, smiling faces as possible. A lot of people want to collect candids and those can be great, but the vast majority are not. Setting up a shot or a pose can be far more effective and tell your story better.
It’s the difference between looking at your friends vacation photos who just whipped out their phone for a quick pic and having professional pictures taken. Both tell a story, but some are far more interesting to look at.
4. Shots to avoid
Over the years and thousands of pictures later, I’ve learned that there are three shots that are best to avoid. This is my opinion, and you may have seen great pictures, but in my experience most of these shots are unusable.
a. far away shots of people
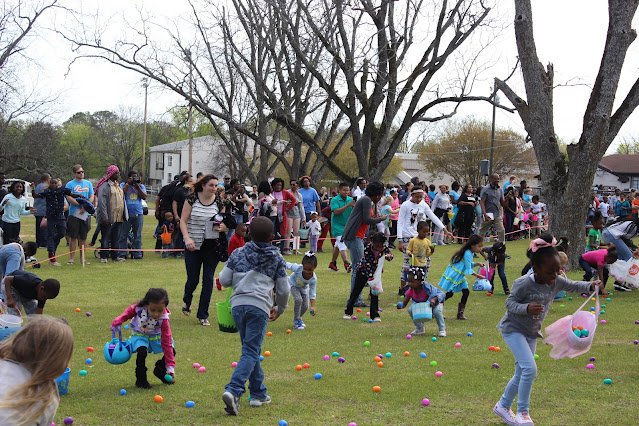
Sometimes the photographer wants to show how many people are there and that’s great. However, to be done well it takes a lot of intentionality. If you’re using someone who has a nice camera a lot of their shots may look like this.
There’s action there, but there’s nothing to grab someone’s attention. Overall, it just looks like a crowd of people.
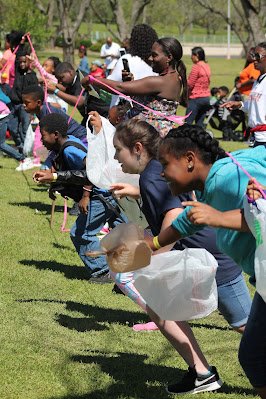
It’s much better to get close ups of groups with their faces toward the camera. Here’s another picture from the same event that tells the same story, but better.
b. people sitting and eating
This is really a pet peeve of mine. The photographer pops up at the table and exclaims “Say cheese!” Inevitably, someone missed the memo and isn’t looking at the camera or worse you’ve caught them with food in their mouth.
No one wants to see that.
Also, generally these shots don’t make the event look fun or exciting. It’s Just a bunch of people eating.
Instead, get the people to pose. Get everyone in the shot to smile and look at the camera. You may be able to capture that diamond in the rough of someone smiling or laughing while eating, but don’t count on it.
c. random products
This is more about the composition of the shot and separates the pros from the amateurs. A lot of times we just look at the people we’re taking the picture of, but we also need to look at what else is in frame.
Case in point, I asked one of the photographers to take pictures of my church for my website. He did a great job and I’ve used a lot of his shots. When I was going through them, I was looking for a picture I could use for our main web banner. I thought this one could work.
It has smiling faces. Young people are in it. It says welcome over their heads. All good things. But then I looked closer. One girl is holding an A&W Root Beer. There’s a Spring Time brand water bottle facing the shot. There are other things on that same counter cluttering the shot. The one guy in the picture isn’t engaged with the photo at all.
At first glance it looks like this picture could work, but upon further inspection, it won’t. It looks like it could be a commercial for root beer or water when I need it to be a commercial for my church.
I’m still using the picture, but in a much smaller capacity.
When taking a picture or choosing one to tell your story, don’t just look at the main subjects. Look at the corners and behind them. What else is in the picture? What could distract from the story you’re telling?
There’s a lot of new technology out there that can fix these kinds of problems in post-production, but I learned this axiom while making videos during COVID.
Taking five minutes in pre-production to get it right will save you 5 hours in post-production.
Don’t count on magic software to fix your mistakes. Try to get it right before you start.
5. Collect and share
Throughout this post, I’ve talked about telling a story. That’s why we’re taking all these pictures anyway. Whether you’re telling the story to your kids or the world, the quality of your story greatly relies on the quality of your pictures.
Once the event is over, I meet with the photographer and get the pictures from them. I’ve learned how to edit photos, so sometimes I’ll take their SD card and dump them onto my hard drive. Otherwise, I’ll give a preferred date for the edited photos to get back to me, usually within a week.
Either way, you’ll want to put them in a safe place for next year and share them on social media. Using Facebook albums is a great place to share them, and it drives up engagement on your page.
After I’ve shared the story of my event with my church, I’ll pick 5 to 10 photos and place them in a community shared drive. Everyone on staff shares their best pictures in this drive, where we use them when we’re advertising future events, casting vision, or celebrating what God has done over the last year.
If you want to take your event to the next level, you need to take great pictures and share them. Don’t rely on yourself, but bring talented people who can take the burden off you. Capture the fun and the joy of the event. Taking great pictures will go a long way to motivating people to attend the next time, making your event next year much more successful.




To have a great Easter Outreach, you need to have a plan. This field tested and approved Egg Hunt To Do List will walk you through step by step to have your best event.